
When we renovated the house in 2020, we updated the master bath but kept it simple, very very simple. We chose a very neutral palette; white marble for the shower and a wood floating vanity. I always knew I wanted to make this bathroom more special, most of all because it’s the bathroom we use the most often.
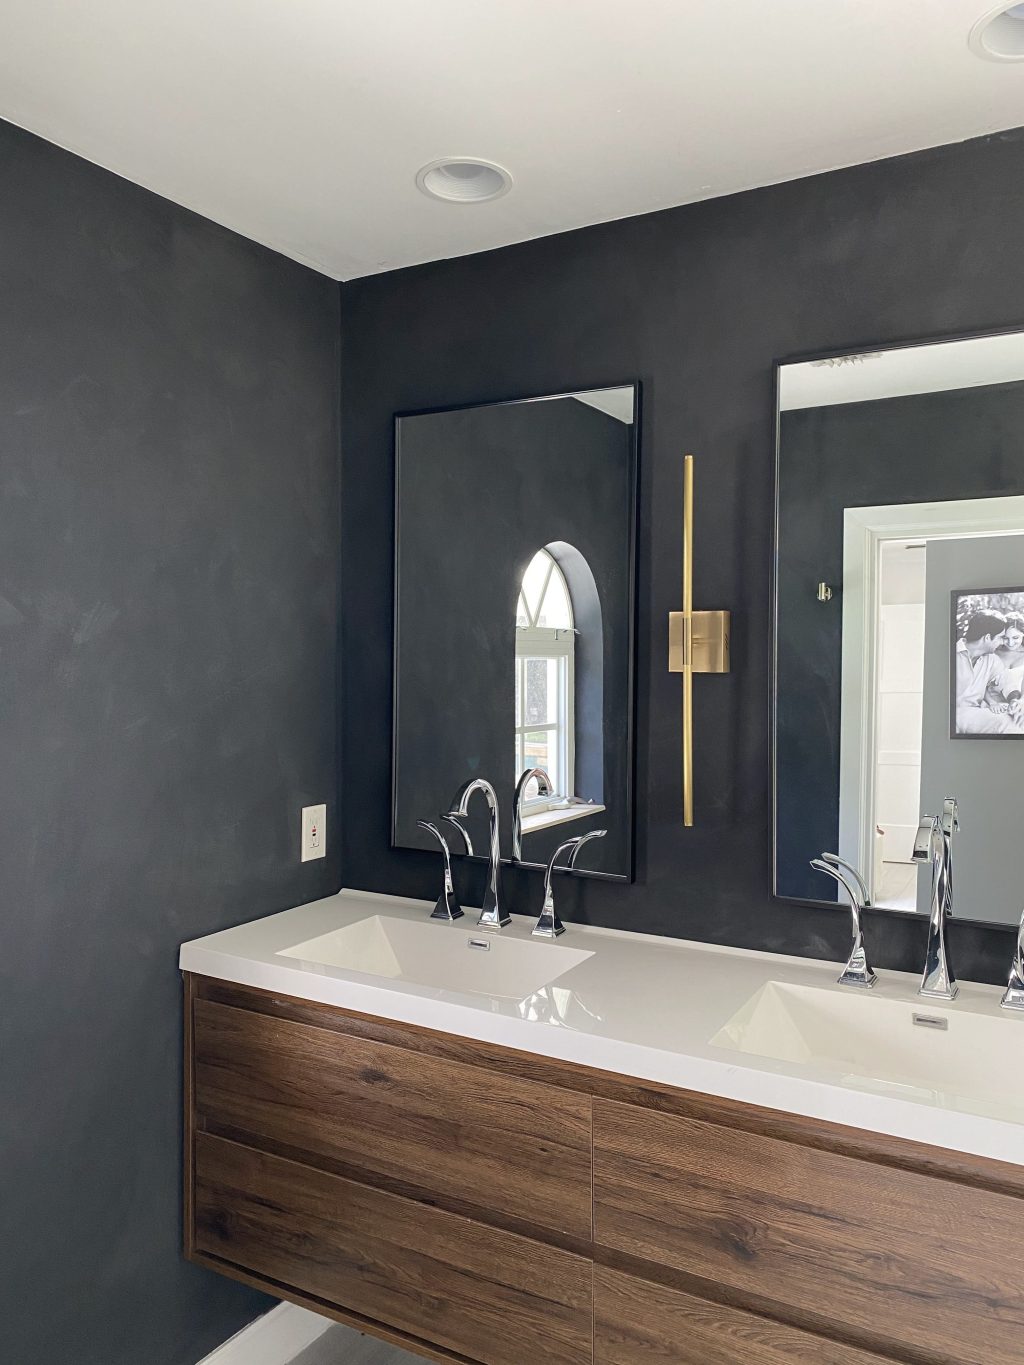
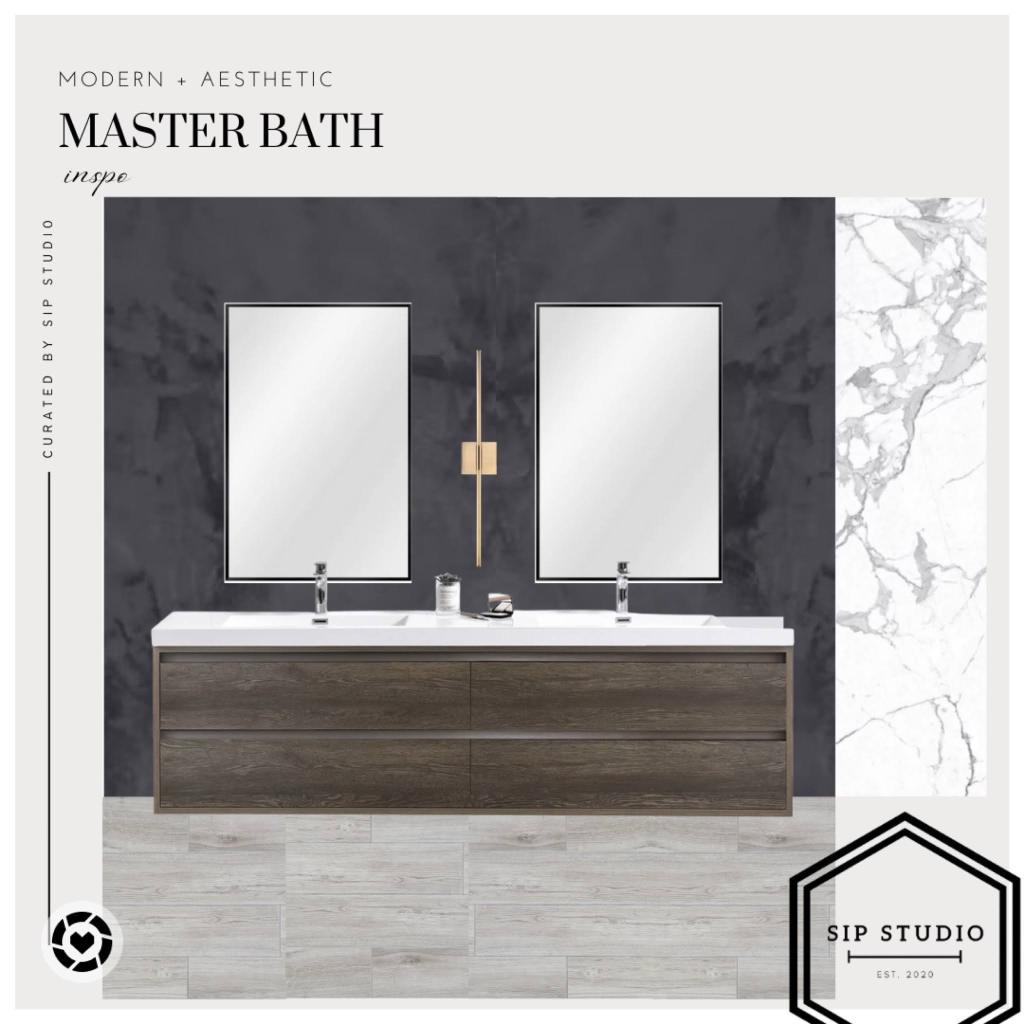
My process was kickstarted by creating mood boards for this space and decided I wanted this space to be moody and have character. I decided to try out lime wash for the first time ever. While picking out the lime wash color options, I was automatically drawn to the darkest shade possible; carbon black. I picked out a simple set of framed mirrors and a vertical light fixture (that I was super excited about!)
THE INSPO
I began by prepping the space; caulking, sanding, patching, and priming. I ended up ordering all my essentials for this project from Lowe’s and Amazon.
Below is what I ordered:
THE PROCESS
I began painting, creating an “X” shape. The paint is very thick so get your arms ready to burn. I worked on one layer at a time, making sure I covered the entire surface. (I used a smaller, less wide brush for the corners).
watch the video below for a time lapse of the process
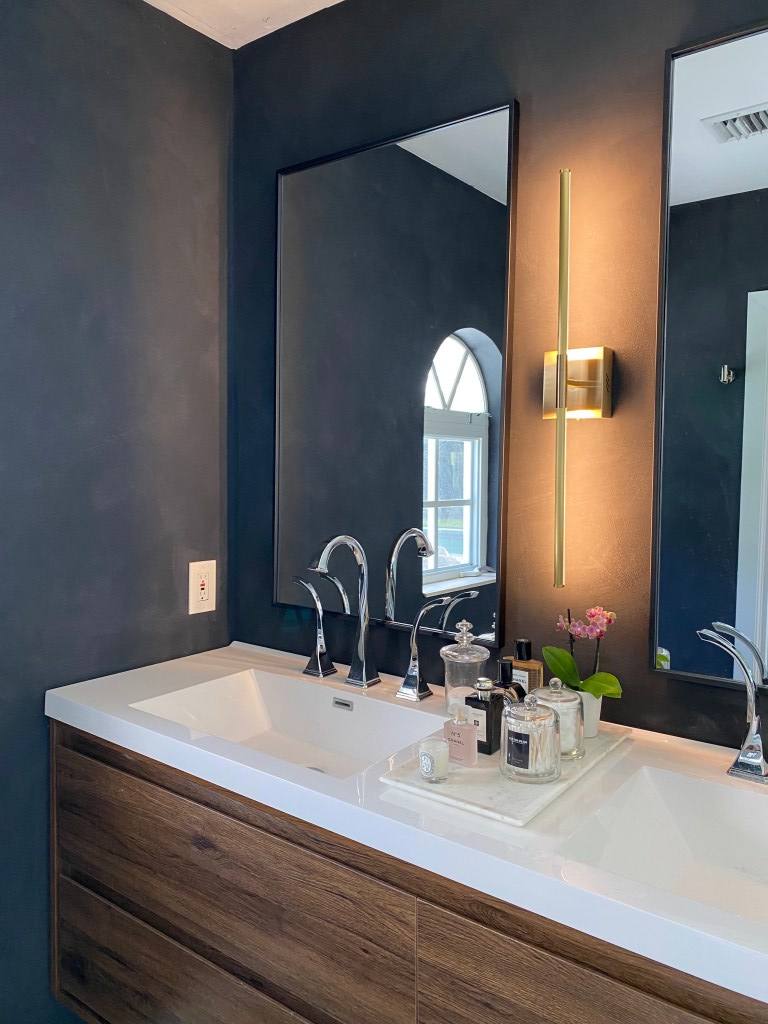
I let the first coat dry fully ( I was already falling in love with this space!) The color is so rich and the texture is just perfection. I added a second coat and this step really added a lot of dimension and depth to the color. I let the paint dry over night.
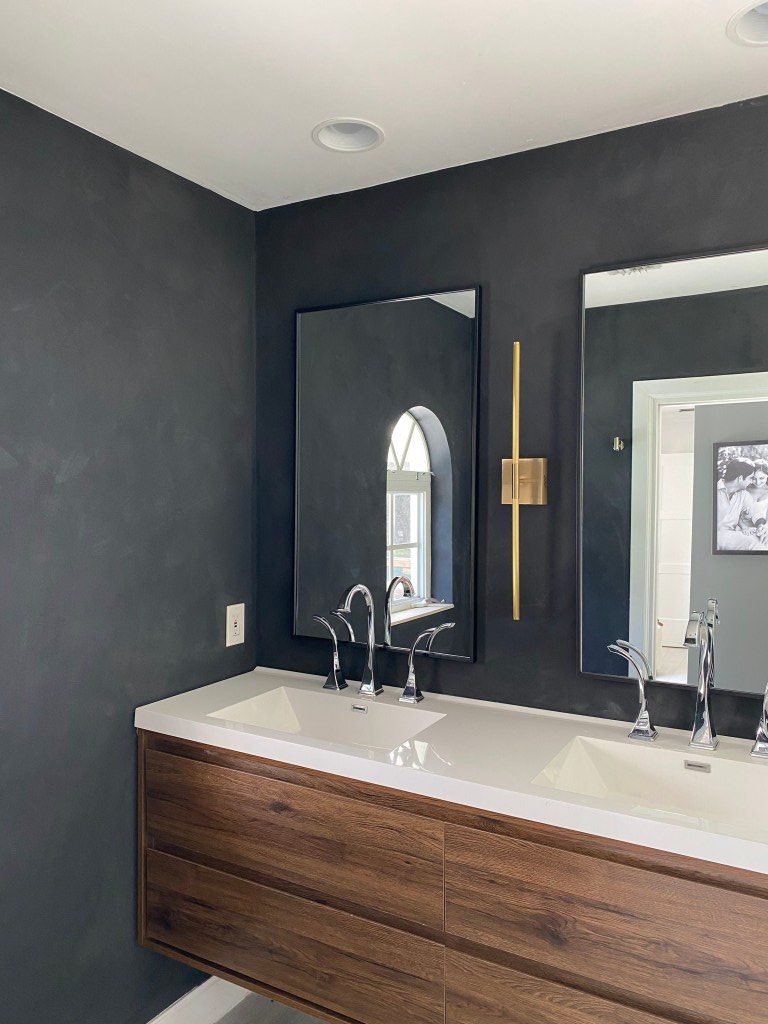
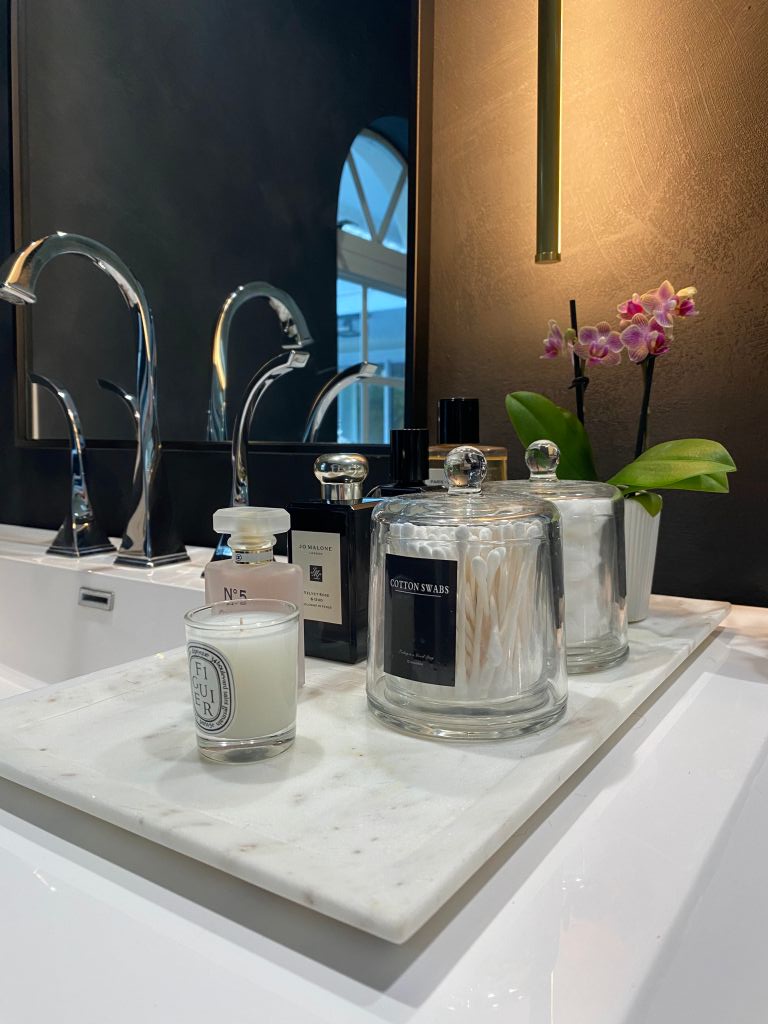
We then installed the two mirrors and the vertical light fixture. The space changed so much and ended up looking and feeling better than I imagined. The paint added so much character and the light fixture adds such a nice touch of luxury, as well as cozy lighting. After this remodel, I love spending time in this space. It’s definitely an experience and I love the vibes in there.
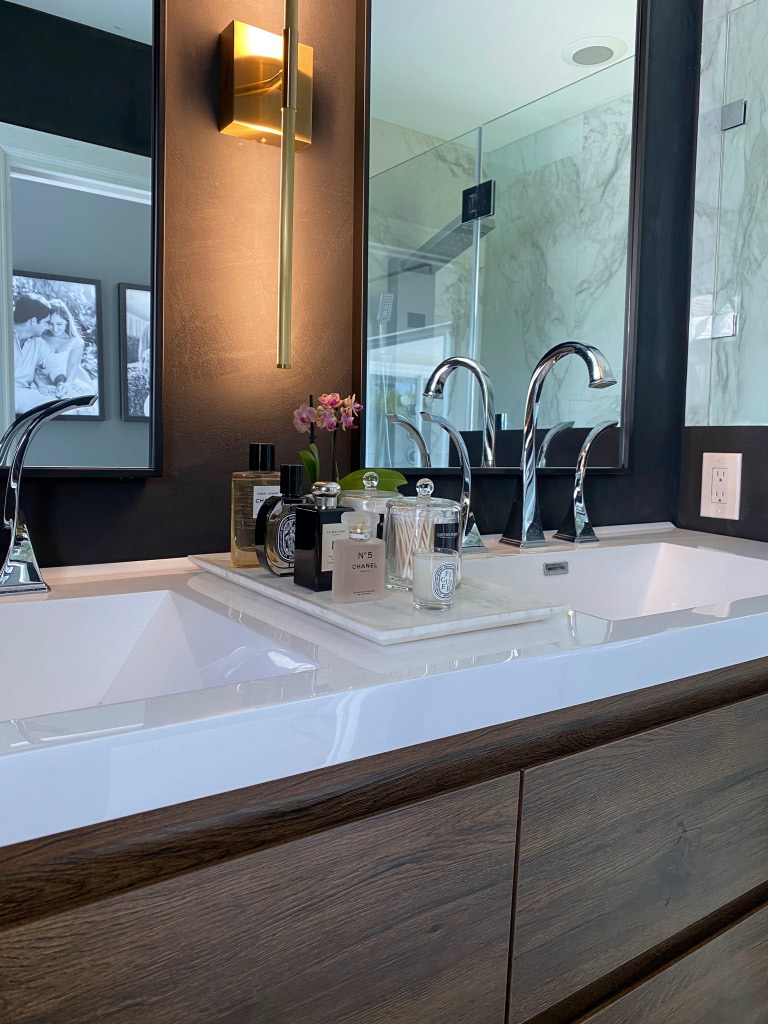
I am already on the hunt for a new space in my home to use lime wash in. I absolutely love the texture and all the natural elements in this paint. Lime wash is made of natural lime and crushed marble so it’s a more natural option for your walls. I like that this paint is free of chemicals, making it a much more sustainable choice of paint.
*SIP TIP: add water to your lime paint to make it more runny and dilute the color. I tried a watered down patch on my walls but felt like the color was too washed out. I preferred the deep black carbon color. Adding water also made the painting much easier to work as the paint was runnier and easier to apply.
see a little more of the process + the reveal
Follow along on instagram + Pinterest for daily home inspo. You can shop all my posts on my LTK.
xo, Juani

Leave a reply to Juanita Bernal Cancel reply